La Pavoni maintenance successful
I've successfully carried out maintenance on my La Pavoni espresso machine, and you can too. Here are some notes that may help.
I'd been slightly apprehensive about replacing the gaskets on my La Pavoni lever espresso machine, as I'm not particularly skilled at this kind of thing and didn't want to break anything. But I've just gone through the process and things seem to have worked out OK, and I wanted to share that information - because if I can do it, you can too.
Why I did it
I'd started to notice some leakage in the grouphead - once the machine was up to temperature and pressure, water would drip out into the drip tray (or cup). Sometimes only a few drops; but at other times almost up to an espresso cup's worth.
Related, I'm sure, was the fact that the lever action, both up and down, was far from smooth. It was, how can I put it, bumpy and uneven, as though something was rubbing or catching. The odd thing is that because this happened over time, I didn't actually notice it in the early stages. But it became quite severe and I guessed it was a gasket issue - which was very likely related to the leakage too.
Learning how to do it
I watched and re-watched various videos on YouTube, and found that this one from Sam Stiles was the most helpful: La Pavoni- 5 piece gasket replacement. I must have watched that one at least 7 or 8 times before I started.
What I ordered
I ordered a La Pavoni Lever Grouphead Service Kit (New Group) from The Espresso Shop. I chose this to order as I wasn't sure what I needed, and in fact it came with some parts that were a nice bonus (more on that shortly).
Following the process demonstrated very ably by William Stiles in the video, I managed to remove the lever and then the grouphead, and then the piston.
Tools
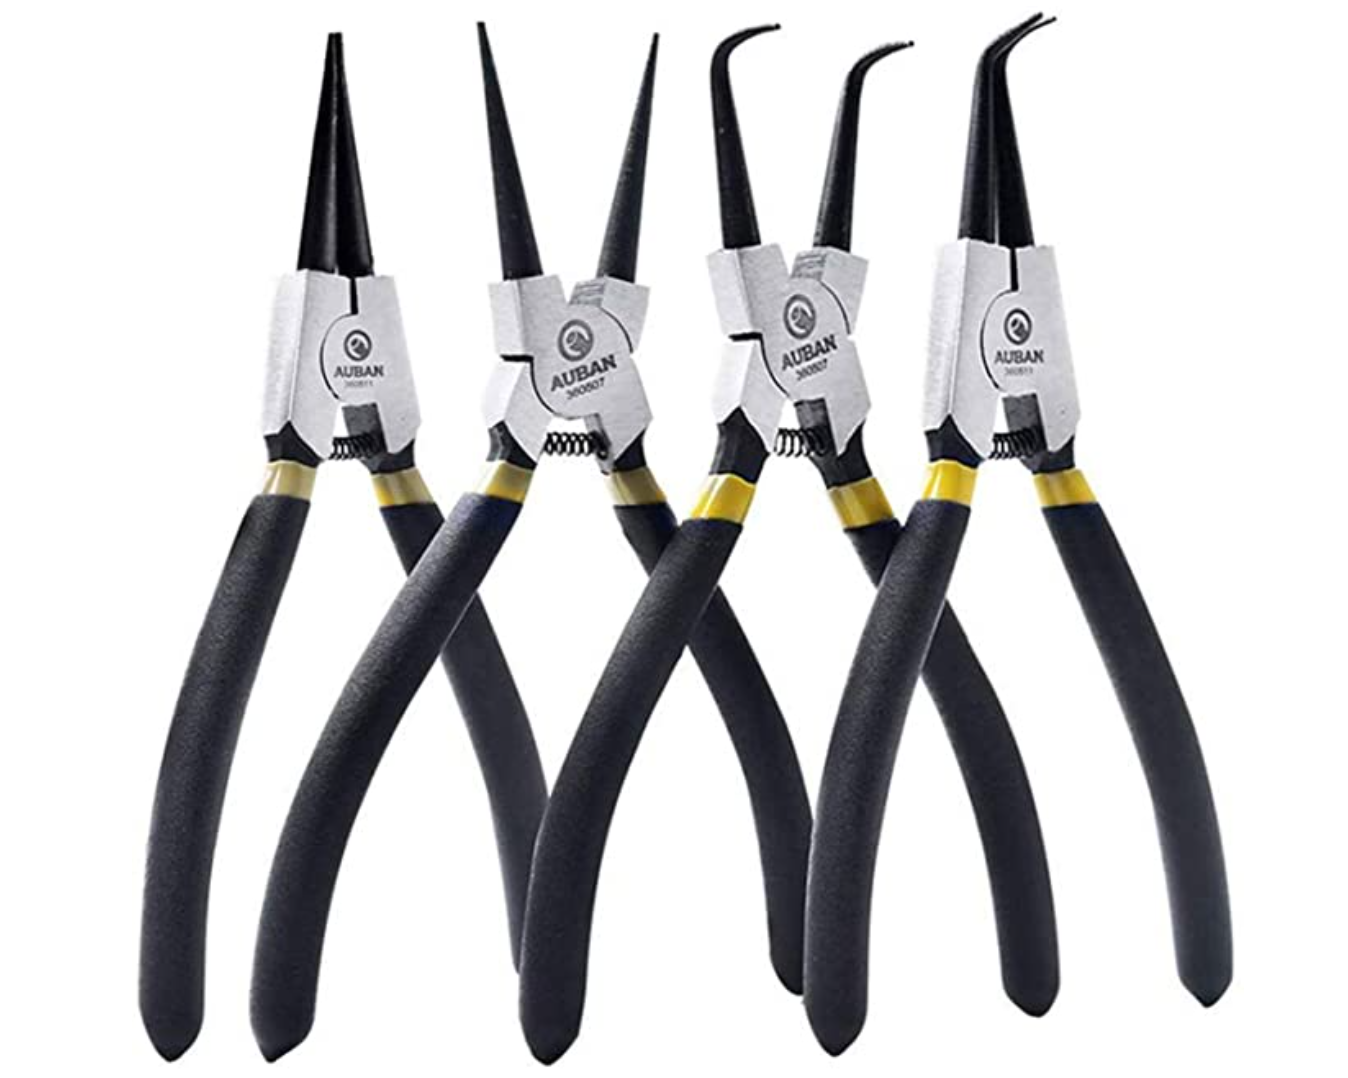
Having watched how William used his tools, I ordered a set of snap ring pullers to be able to remove the snap ring holding the piston shaft gasket in place.
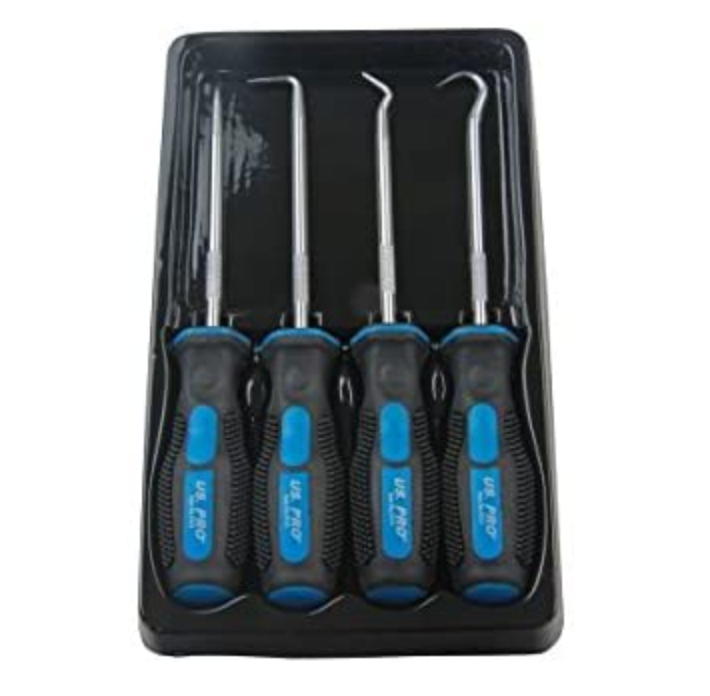
Having seen one used in another video, I also ordered a cheap hook and pick set. I wasn't entirely sure I'd need them but in fact they were very handy to have - I found the 90 degree angled one useful for prying the old gaskets off, and for retrieving the aforementioned piston shaft gasket.
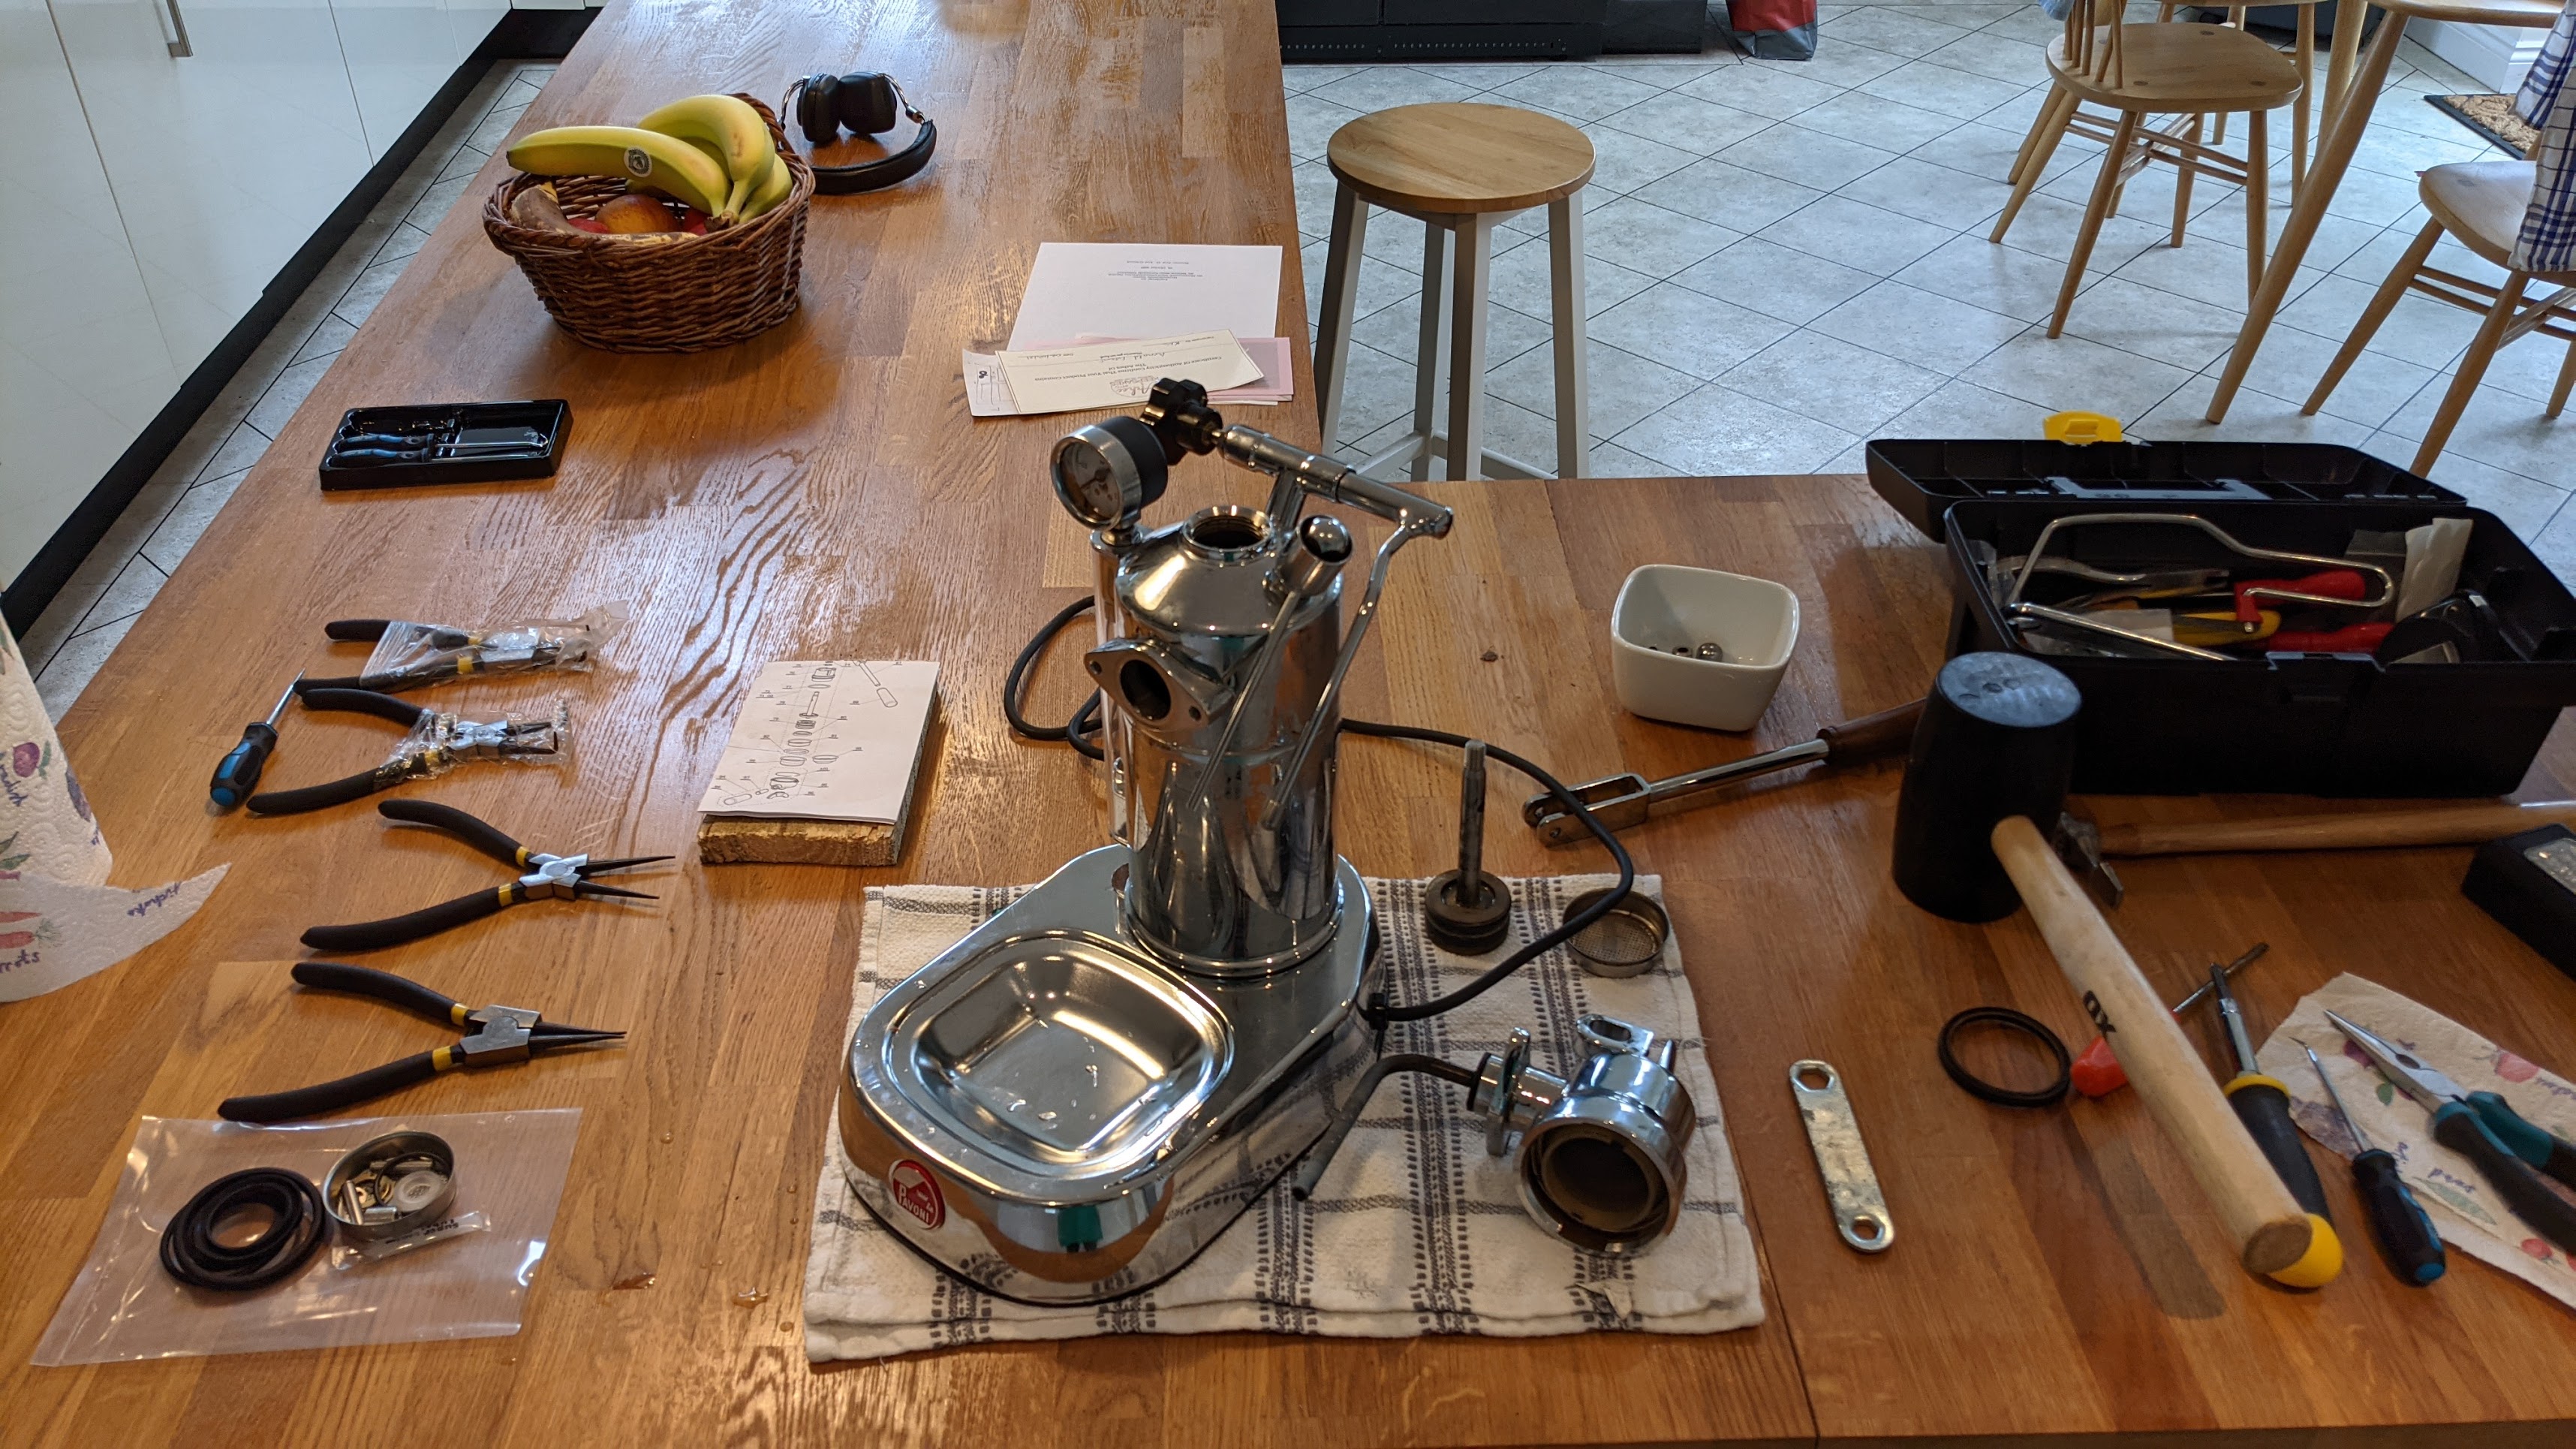
I already had a rubber mallet so with the arrival of those online purchases, I was all set.
Observations
I went slowly and carefully, and everything pretty much went as William described. Here are some observations and experiences that I thought might be helpful.
Lever attachment
The lever attachment section was pretty dirty - especially the bolts and the roller nut; while I cleaned the lever itself, and the top of the grouphead, I didn't need to clean the bolts or the roller nut, as the service kit included new ones, and also new clips (called "circlips", which was new to me) that hold the bolts in place.
Removing the piston
It was quite difficult to remove the piston from the grouphead; I whacked it with the rubber mallet just like William did, with some force, but it wasn't budging.
But after removing the large gasket at the bottom of the grouphead, the one holding the shower screen in (i.e. the one that the top of the portafilter touches when you attach it when about to pull a shot) ... one more whack with the mallet did it and it came out much more easily.
With it came a small amount of water - luckily, I'd placed a towel where the drip tray usually goes, not for any water, but to prevent the piston scratching the chrome as it shot out of the bottom.
Cleaning the piston
I made sure to clean each and every part I could get access to, but the piston itself was by far the most grimy. I spent about 10 minutes with some hot soapy water and a gentle panscrub to remove a layer, which was quite greasy (from the coffee oils, I guess).
This was after removing the old piston gaskets, which looked pretty knackered. I found the pick set was useful for this, by the way.
Replacing the piston gaskets
After removing the piston, I found that this was one of the hardest things to do. It was easy enough to pry the old gaskets off, but the new ones weren't for going on easily. In another video, I saw that the person had pre-soaked the gaskets in warm water for 5 minutes to make them a little more pliable.
Doing this helped, but it still took me a couple of attempts. First of all I managed to get one on, but when I looked, it had twisted around and the "groove" was facing outwards. So I had to remove it and try again.
Removing it was difficult too, I didn't want to use the pick, or even a flathead screwdriver as they both had sharp bits and I didn't want to damage the new gaskets. But then I realised I could use the thin end of a teaspoon. Smooth, and, as it turns out, ideal!
I made sure I put the gaskets on as William had instructed, i.e. like the shape of a guitar body.
The piston shaft gasket, washer and snap ring replacement
Getting to the piston shaft gasket was fiddly but doable - mostly thanks to one of the snap ring pullers in the set I bought. Definitely recommended. I've no idea how I would have removed the snap ring without it, and I'm pretty certain I would have had no chance to put it back either.
By the way, the service kit also included a new snap ring, plus the washer that sits between the ring and the gasket. That was nice, as both the ring and washer were quite dirty and some limescale had built up there too. The gasket itself was pretty decrepit, at least as worn as the piston gaskets, if not worse.
Re-inserting the piston
When I was ready to re-insert the piston, I made sure to lightly grease the piston itself (around the head, including the gaskets), and put a small amount on the shaft. This helped with the insertion, but only after I'd fiddled around with a spoon to squash in the flanged part of the topmost piston gasket so it would go back into the grouphead.
You see William doing this, but as he did it so deftly, I didn't notice at first. It took me a minute or so to get this done.
Re-attaching the lever
Once the piston was in, the lever re-attachment was pretty easy. One thing I found fascinating is that the lower of the two nuts that are screwed onto the top of piston shaft is to provide an appropriate "stop" point so that the piston doesn't go too low. I found that I had to adjust that nut a little bit as, later, when I attached the portafilter, the lever handle was touching the portafilter handle.
One thing that was lovely to see - and feel - was the huge difference this maintenance made. In both directions, the lever action (and more importantly piston action) was totally smooth, I couldn't believe how much better it was.
Re-attaching the shower screen and filter holder gasket
The final task was to re-attach the screen at the bottom of the grouphead. I say "re-attach", but in fact the service kit also came with a new one, so I used that.
Regarding the gasket - there were two in the service kit - one thinner one with a round cross-section, and one fatter one with a U cross-section. I guessed (correctly, I think) that it was the fatter one that I needed, based on the size of the old one that I'd removed.
The idea is that you slide it over the screen, from the bottom of the screen up to the lip, first, and then insert both into the bottom of the grouphead.
But as this fatter one had a U cross-section, there was a chance that I'd slide it up and insert it the wrong way.
And I did.
First of all I'd put it in with the "flat" part (the top of the U) facing upwards up into the grouphead. However, I couldn't get the portafilter in. After a few moments head scratching, I realised that the gasket must be the wrong way round and that the top of the U was preventing it from being pushed far enough up.
I pulled it gently back out (using the smooth edge of the teaspoon again) and slid it back over the screen, this time so that the flat part of the U was facing downwards (like this: ∩) and would come into contact with the top of the portafilter when inserted.
This was much better, and I could use the portafilter (without the basket, as William demonstrated) to push the screen and gasket up into the grouphead.
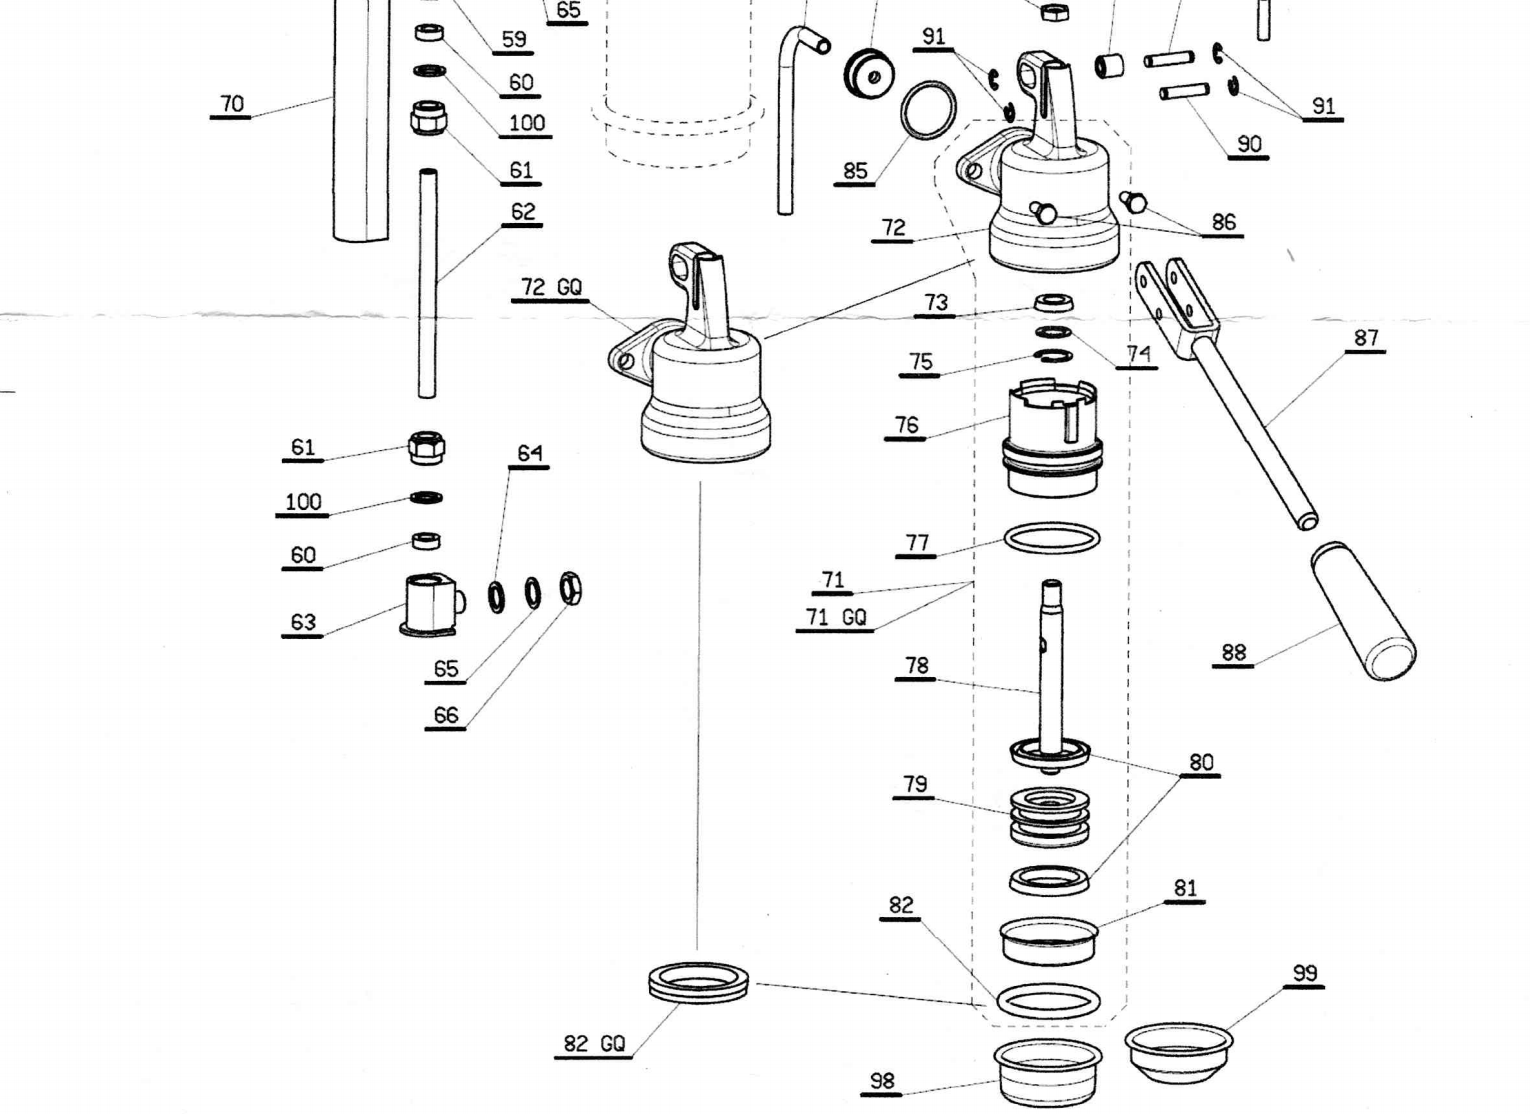
Update: I realised after posting this, and re-examining the schematic diagram that came in the service kit, that the "other" gasket was perhaps not an alternative filter holder gasket, but a group sleeve gasket - item number 77 in the schematic (see later for a section of that diagram). The group sleeve is the light-coloured plastic or bakelite cylinder inside of the grouphead, inside which the piston moves. I couldn't get this off as I didn't have the right tool, but I'd decided that that was fine, I'd do that next time. Anyway, I think I now realise what this "spare" gasket is for.
The group to boiler gasket
I didn't forget to replace the gasket between the grouphead and the boiler itself, that was the easiest part. It's important to note here, however, that I heeded William's advice not to over-tighten the two bolts that hold the grouphead onto the boiler. On tightening them, I came to feel a natural "stop" and didn't apply any further torque.
Conclusion
The entire process took about 90 mins, as I was going very slowly and also re-watching parts of the video as needed. I'm not very dextrous but managed to complete the service successfully.
I thought this experience and process was worth sharing, especially for folks that might be in my position right now - thinking or knowing you need to do it but being a little apprehensive.
It's doable, and definitely worth it!
 .
.